Discount up to 35% for first purchase only this month.
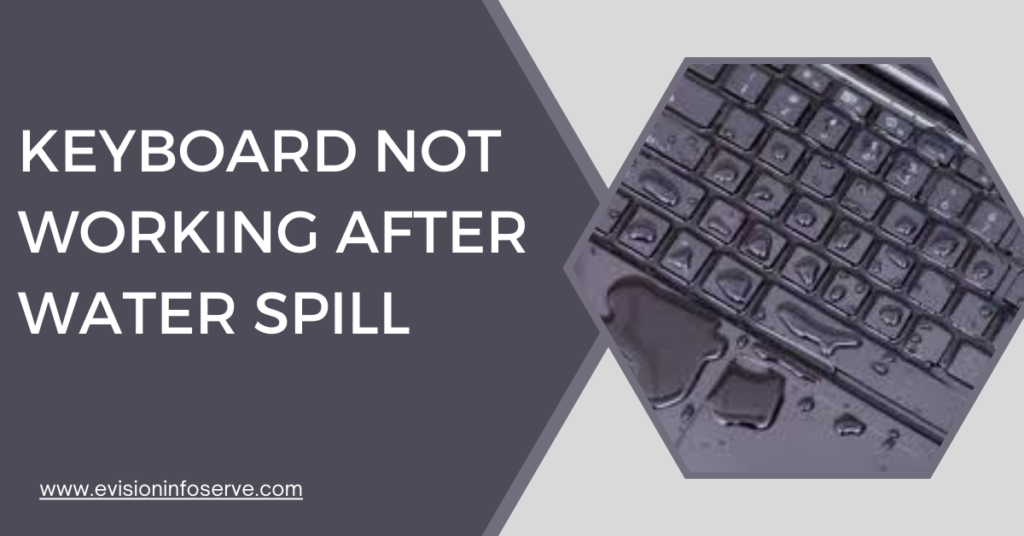
Experiencing keyboard issues after a water spill can be frustrating, but there are steps you can take to potentially resolve the problem. Here’s a step-by-step process to troubleshoot and address a non-working keyboard after a water spill:

Immediately power off your laptop or computer to prevent any potential short circuits or further damage caused by the water.
Unplug the power adapter and remove any other external peripherals connected to your device.
Carefully flip your laptop or keyboard upside down to allow any remaining water to drain out. Use a soft cloth or towel to blot any visible water on the surface.
For a laptop, consider removing the keyboard to better assess the damage and aid in drying. Refer to your device’s manual or search online for specific instructions on how to remove the keyboard safely.
If you have access to compressed air, gently blow air into the keyboard to help dislodge any trapped water. Hold the device at an angle to allow water to escape.
Place the device in a dry, warm area with good air circulation. Avoid using a hairdryer or heat gun as excessive heat can damage components. Let the device dry for at least 24-48 hours before attempting to use it again.
After allowing sufficient drying time, reassemble the device (if disassembled) and power it on. Test the keyboard to see if it’s working properly. If not, proceed to the next steps.
If the built-in keyboard still doesn’t work, connect an external USB keyboard to your laptop or computer. This will allow you to continue using the device while considering further repairs.
If drying and basic troubleshooting steps do not resolve the issue, seek professional help from a certified technician or repair service. They can assess the extent of the damage and perform more advanced repairs if necessary.
To prevent future water damage:
Avoid Rice Myth: While rice is often suggested for drying electronic devices, it’s not the most effective method. Air drying in a dry, warm environment is generally more successful.
Be Patient: Rushing to use the device before it’s completely dry can cause permanent damage. Allow ample drying time to ensure the best chance of recovery.
“By following these steps and taking precautions, you can increase the likelihood of restoring your keyboard functionality after a water spill. If unsure or uncomfortable with DIY repairs, always seek professional assistance”
If your keyboard is still not functioning properly or you notice that some keys are still having trouble, you may need to unscrew the keyboard to dry out any excess moisture. Sometimes the moisture can seep further in. In those cases, it’s essential to make sure the moisture is dried up.
Stop liquid from going into the keyboard by turning it upside down until the liquid stops dripping. Ideally, leave it flipped over for 24 hours to dry.
100% Original product that covered warranty by the vendor.
You have the right to return your orders within 30 days.
Your orders are shipped seamlessly between countries
Your payments are secure with our private security network.
Evisioninfoserve is dedicated to providing high-quality refurbished laptops to our customers. We understand that not everyone can afford brand-new laptops, and we believe in the value of extending the lifespan of technology while offering affordable options.
+91 9205888941
WhatsApp us