To reset the BIOS settings or troubleshoot boot issues, you must locate the CMOS battery in your computer. The following instructions will assist you in locating and changing the CMOS battery:
Step 1: Prepare Your Tools and Workspace
- Tools Needed: A small Phillips-head screwdriver, anti-static wrist strap (optional but recommended), and a flat, clean workspace.
- Safety First: Turn off your computer, unplug it from the power source, and remove any external peripherals.
Step 2: Ground Yourself
- Static Electricity: Wear an anti-static wrist strap or regularly touch a metal object to discharge any static electricity from your body to prevent damaging the internal components.
Step 3: Open the Computer Case
For Desktop Computers:
- Remove Side Panel: Use the Phillips-head screwdriver to remove the screws holding the side panel of the computer case. Slide or lift off the side panel to expose the internal components.
For Laptops:
- Remove Bottom Cover: Turn the laptop upside down and locate the screws securing the bottom cover. Remove these screws and carefully pry off the bottom cover using a plastic spudger if necessary.
Step 4: Locate the CMOS Battery
Desktop Computers: The CMOS battery is usually a coin-cell battery (similar to a watch battery) located on the motherboard. It’s often found near the PCI slots or under the RAM slots.
Laptops: The CMOS battery can be located in various places depending on the laptop model. Common locations include:
- Under the keyboard
- Near the RAM or storage drive slots
- Underneath the bottom cover
Step 5: Identify the CMOS Battery
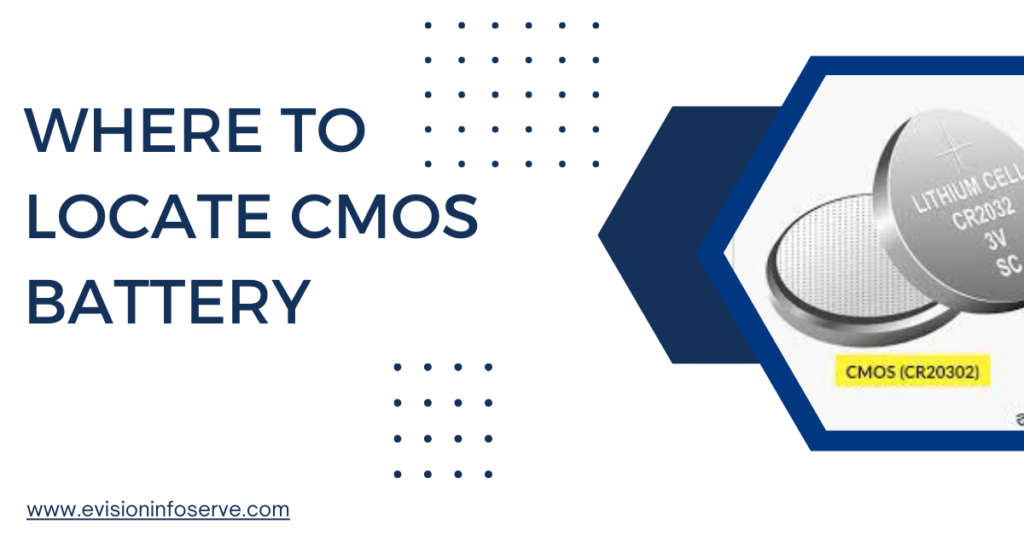
- Appearance: The CMOS battery is typically a small, round, silver coin-cell battery (commonly CR2032).
Step 6: Remove the CMOS Battery
- Carefully Pry Out the Battery: Use your fingers or a non-metallic tool to gently pry the battery out of its socket. Note the orientation of the battery (which side is facing up) to ensure correct placement of the new battery.
Step 7: Replace the CMOS Battery
- Insert the New Battery: Place a new CMOS battery of the same type (usually CR2032) into the socket, ensuring it is oriented correctly.
Step 8: Reassemble the Computer
- Desktop Computers: Replace the side panel and secure it with screws.
- Laptops: Replace the bottom cover and secure it with screws. Ensure all clips and latches are properly engaged.
Step 9: Power On and Configure BIOS
- Reconnect and Power On: Plug your computer back into the power source, reconnect peripherals, and power it on.
- Enter BIOS: Press the appropriate key (often Del, F2, F10, or Esc) during the boot process to enter the BIOS setup.
- Set Date and Time: Update the date and time settings and any other BIOS configurations as needed. Save your changes and exit the BIOS.
Additional Tips:
- Consult the Manual: If you have difficulty locating the CMOS battery, refer to the computer or motherboard manual for specific instructions.
- Handle with Care: Be gentle when handling internal components to avoid damaging the motherboard or other parts.
- Backup Settings: Note down any important BIOS settings before replacing the CMOS battery, as replacing the battery will reset the BIOS to default settings.
By following these steps, you can successfully locate, remove, and replace the CMOS battery in your desktop computer or laptop. This can help resolve BIOS-related issues and ensure your system maintains its settings correctly.
FAQ's
All personal computers have a small battery on the motherboard that provides power to the Complementary Metal Oxide Semiconductor (CMOS) chip, hence the name CMOS battery. This CMOS battery powers the chip, holding information about the system’s configuration, such as the hard disk, date and time, etc.
While the main laptop battery powers all of the components from the CPU to the hard drive and tends to be one of the largest and heaviest parts of your laptop, a CMOS battery powers just the BIOS, and is usually coin-sized and lives on the motherboard