Discount up to 35% for first purchase only this month.
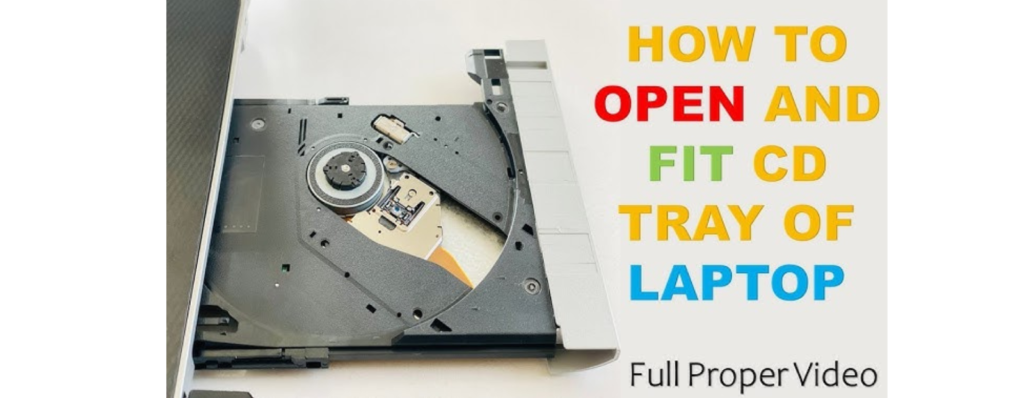
Opening a DVD drive is a simple yet essential task that allows you to insert or remove discs from your computer’s optical drive. Whether you’re installing software, watching movies, or burning data onto a disc, knowing how to open the DVD drive is a fundamental skill for any computer user. In this step-by-step guide, we’ll walk you through the process of opening a DVD drive on your computer, covering various methods and troubleshooting tips to ensure smooth operation.

The DVD drive is typically located on the front panel of your computer tower or on the side of a laptop. It is often labeled with an icon resembling a disc or the letters “DVD.” Locate the DVD drive on your computer before proceeding.
Most DVD drives are equipped with an eject button that allows you to open the drive with a simple press. Follow these steps to open the DVD drive using the eject button:
Many computers offer a keyboard shortcut to open the DVD drive, providing a convenient alternative to using the physical eject button. Follow these steps to open the DVD drive using the keyboard shortcut:
Some computers allow you to open the DVD drive using software controls or options within the operating system. Follow these steps to open the DVD drive using software controls:
If the above methods fail to open the DVD drive, you can use a paperclip as a last resort. Follow these steps to manually open the DVD drive using a paperclip:
If you encounter any issues opening the DVD drive, consider the following troubleshooting tips:
“Opening a DVD drive is a straightforward process that allows you to insert or remove discs from your computer’s optical drive. Whether you’re installing software, watching movies, or burning data onto a disc, knowing how to open the DVD drive is an essential skill for any computer user. By following the step-by-step guide outlined in this article and considering the troubleshooting tips provided, you can ensure smooth operation of your DVD drive and enjoy seamless access to your media content.“
To play a CD or DVD
Insert the disc you want to play into the drive. Typically, the disc will start playing automatically. If it doesn’t play, or if you want to play a disc that is already inserted, open Windows Media Player, and then, in the Player Library, select the disc name in the navigation pane.
Open File Explorer and choose This PC, then the DVD drive, right click to Eject. There is also a tiny hole you can insert a straightened paper clip to mechanically push the drawer open if you find the exact spot inside to press with the clip.
100% Original product that covered warranty by the vendor.
You have the right to return your orders within 30 days.
Your orders are shipped seamlessly between countries
Your payments are secure with our private security network.
Evisioninfoserve is dedicated to providing high-quality refurbished laptops to our customers. We understand that not everyone can afford brand-new laptops, and we believe in the value of extending the lifespan of technology while offering affordable options.
+91 9205888941
WhatsApp us